Tuesday, October 30, 2018

A FALL tablerunner

I can check off another item on my ToDo list. This table runner just needed binding... But you know how it goes... It sat and sat on my sewing table... For a YEAR! 

I'm forcing myself to get back to finishing up some of my started projects. Next up...binding on a queen sized quilt. 


Working on that Vintage quilt

I'm playing a bit this morning when I should be packing. We sold our house..yes, I know, it was supposed to be our FINAL home. But you know, houses are like quilts...at least to me...I just love designing and building (moving? Not so much).
So here are some nine patches I'm working on to be cornerstones of the quilt. 
Al is busy cleaning and packing the garage so I'm sneaking in a little sew time. Shhhh...
On IG I'm doing the fabric swap with some other quilters. I received a few packages yesterday with PERFECT vintage looking stripes and plaids. So tempting to stitch up
So that's what I'm doing, at least for a few minutes...cutting, sewing, enjoying..
Al's back! Yes, dear....just...ummmm....cutting strips off old shirts to use as ties for packing ;)

I really am! I save these bottoms to use as garden ties and to tie around rugs we've rolled up. They're really strong. My grandmother saved EVERYTHING...she was the original recycler. Maybe have a bit of her in me.

Here's my happy mail:

Such generous ladies!

And this is as far as I've gotten on this quilt. I may have to box it up until after the move .... Maybe....


Thursday, October 25, 2018

How to: Making HSTs

There are so many ways to make half square trianges (hst). I'm going to show you my favorite way. I use the Easy Angle (nope...they don't pay me). There are other similar triangle tools out there that would work too. It just has to have a 90° and a 45° to work.

The BIG TRICK is to cut your strips the width of the finished HSTs BEFORE it's stitched into the top.  So if your block is 12" and you need some  4" finish hsts...4-1/2" is the presewn size and also the size of your strips.

Cut two strips...lay them right sides together.

Lay the angle as above..the cut off point of the template lines up with the top edge of the strips...one of the other lines will lay on the bottom edge.

Cut as many as you can from the strip, flipping it every other piece to maximize how many sets you get.
KEEP THEM TOGETHER...take them right to the machine and chain stitch all the triangles (seam is the long edge)

 Cut them apart and press. No further trimming. They should be ready to go!

Wednesday, October 24, 2018

Vintage block tutorial

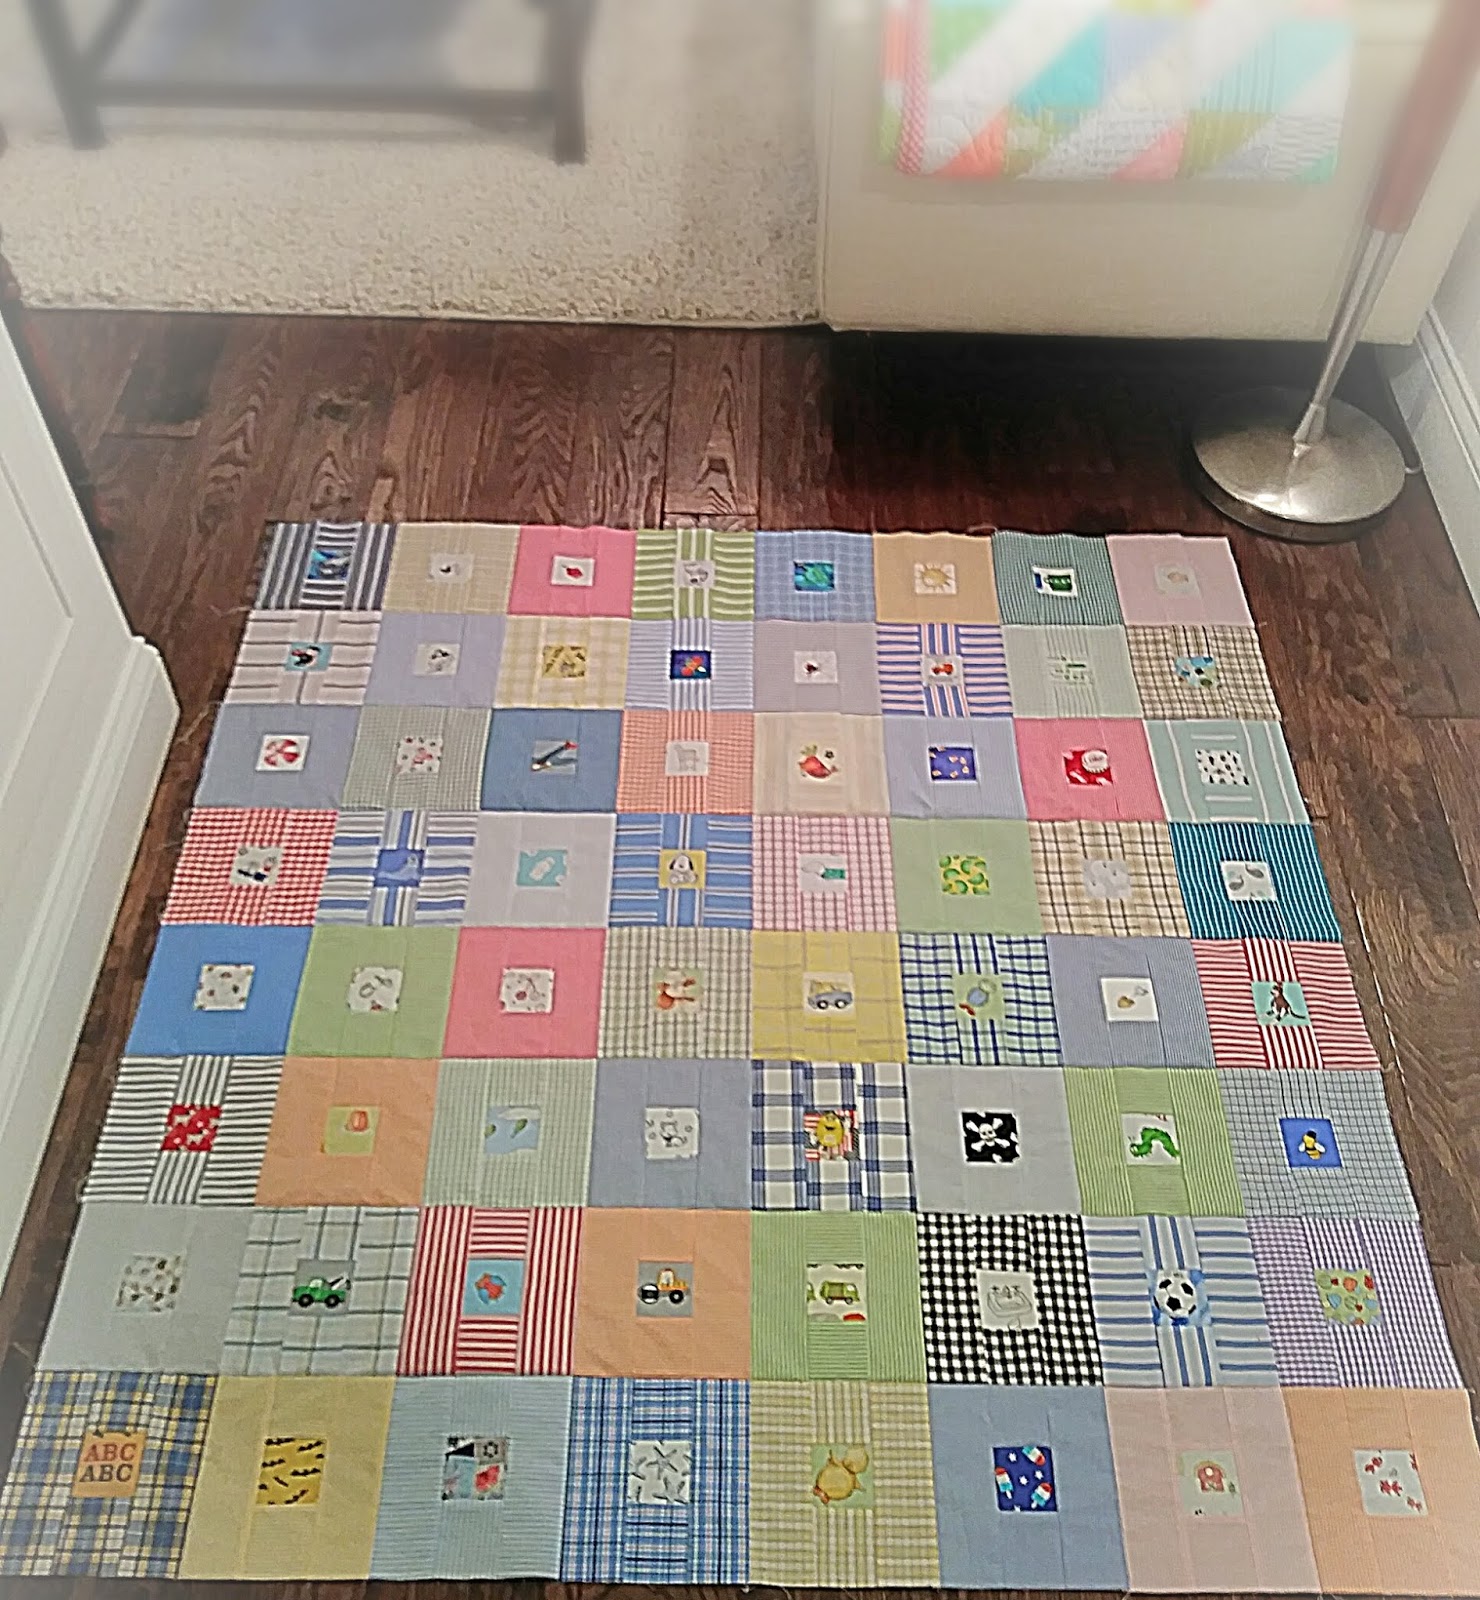
On Instagram, I'm making a quilt to look like a vintage one I spotted in a magazine.

There wasn't a pattern, just a picture so I came up with what I'm showing below.
I promised to do a tutorial...here it is.
I'm going to try to explain this block as easily as possible but comment if anything needs further clarification.

The block is 15" finished or 15-1/2" before being sewn into a quilt.
I use all scraps. I'm trying to get a vintage look so I'm using shirtings, faded or muted colors, solids, checks and some small florals...anything that might have been in someone's wardrobe in the early 1900s. 

The block consists of 25 smaller sets or pieces:
(9)  9-patches
(4) 3-1/2" squares
(4) 3-1/2" strip squares
(8) 3-1/2" half square trianges (3"finish size)

To make the 9-patches:
Cut 1-1/2" strips of dark and and light (or just two contrasting fabrics)
Sew one set of light/dark/light and one set of dark/light/dark...see below.
I alway press to the dark and with 9 patches like these I press to the outside.
Cut 1-1/2" pieces off to use as shown below.

Sew those pieces into 9 patches. Not all 9 have to be alike. Check out my two blocks closely. 
To make the 4 strip squares cut more 1-1/2" strips. Sew light/dark/light strips then
Cut into 3-1/2" pieces. 

Now onto the plain squares and the half square trianges (hst).
Cut a strip 3-1/2" wide and at least 15" long . Subcut into 4 squares 3-1/2" wide. These are your plain squares.

For the HSTs there are multiple ways to get these. If you have an Easy Angle template:
Cut a dark and a light 3-1/2" strip. Put them right sides together and subcut using an easy angle. Sew the long seam. You'll need 8 sets.


IF YOU DON'T HAVE ONE you can use triangle papers like 3" thangles or any other method you are used to. You'll need eight 3-1/2" hst (3" finish size).


Lay out all your pieces like I did below. Check that pieces are facing the right way.
These corner HST pieces should sort of form a bowtie. 
I sew the pieces in rows then stitch the rows together...check that they are facing the correct way. It's easy to turn them around (speaking from experience!).

 You might want to place a drawing of the block by the machine to refer to as you sew.

Make 20 blocks. Cut sashing 15-1/2"x 3-1/2". Cornerstones are more little 9 patches like we made for the blocks. 

Follow me on IG ... @northerndebquilts
Above is a block diagram that might make it easier to follow as you sew. And below is a camera shot of the magazine page with the original vintage quilt. The magazine is an old Fons and Porter.


Tuesday, July 17, 2018

Finishing the baby's I-Spy quilt

I made the 64 block, stitched the rows together then finished the top but Jenn and I decided to make the quilt a bit bigger. It's 48" square...4 foot. She thinks 5 ft square will be a more useful size into the future. I agree...for playing on, picnics, cuddles. So now the question becomes, do we add more blocks and make it 10 blocks x 10...or 100 total? Or do I make it a border. Any opinions?

Sunday, July 8, 2018

I've been slowly pushing myself back to quilting. My back pain gets terrible in the mid day so early morning is the best time to sew. 
The last of the 64 I-Spy blocks are done...I found the cutest little camping and Christmas fabric this week.


 Don't you just love the little bear with a marshmallow on a stick?!
Three rows are stitched together. There won't be any sashing but I'm not sure about borders. I may add one if Jenn wants Charlie's quilt larger than 48" sq.

And here's the new scrappy bow tie quilt getting a little Cherry Festival use. We took it downtown for the final night fireworks. The festival is over until next year. 

Monday, July 2, 2018

Baby's I-Spy quilt blocks

My back has been giving me problems lately...hard to sit. So I haven't done much quilting.
Today though, the weather was a bit cooler and less humid and I started to feel a little better. I stitched up a few blocks that I had cut out for Charlie's I-Spy quilt. Im using all shirtings to surround the little object squares. These are 6" blocks, 2" centers. I'll be making at least 2 more rows. Then either a border or more blocks. Maybe I'll leave that decision to Jenn.

Tuesday, June 5, 2018

The first finish of June

 I HAVE a finish! Yay! This is a leader and ender project I did to use up scraps. My scrap bin looks the same so I probably need to start another one.
 This scrappy bow tie quilt used all stash fabrics...even the backing. Linking back to 2nd quarter Finish Along starter blog post:2nd quarter-finish-along
UPDATE: I WON!! I was one of the winners in the 2nd quarter. Join in next time! Get your projects finished and maybe win a prize. Win, win!!
Let me end with a picture of my sweetie pies... These two make getting older THE BEST! 


Thursday, May 3, 2018

Collage class, quilting and sewing surprises for daughters

Last Saturday I taught a Collage Class. We really had a great time. This class used Laura Heine patterns like the one I made... Emerson Dog. The ladies all had different Laura Heine patterns.... a moose, the cat, the dress, a flamingo, the elephant, the pigs and two of my favorites: Henrietta the hen  and the Rooster (not sure his name). 
I cant wait to see all of these become quilts.  This class will be repeated in June. I may make another collage myself. Im thinking about that rooster...he's really beautiful.
So after class I decided to start quilting a quilt ....this top was finished in April and I'd love to have the FMQ done this month so that I have a large finish. It's been a while. This is the bow tie scrap quilt and I really do love it. It's probably going to become a picnic/beach quilt. 


So in between quilting and cleaning my sewing room (it really needed it!) I started a small sewing project. When my younger daughter was up visiting, she showed me environmentally friendly pads for periods. You stitch a cotton layer, 2 flannel layers and a water repellent bottom layer together ....add snaps to attach to panties and you're done. She bought hers at a store but I figured we could make them easy enough. So I purchased the fabrics and snap... 

This is a finished one below:

It snaps around the panties...pretty fabric faces up....snap down. That white fabric is the water repellent stuff. It's the same fabric that is used with baby diapers which should be my next project. Since the other daughter just delivered a son and she's going through diaper after diaper, I think this would be a good money saver. These pads were Super easy. These sell for about $15 dollars each at the health food store... I think I can make her about 6 for about the same money. Im sure the diapers cant be all that much harder.


Monday, April 30, 2018

Pillow finish

My latest finish is another collage project...it's a Laura Heine flower. I decided to make it small instead of wall size. And then i added assorted HSTs on one side. It ended up being a fun summer pillow for my entry seat. I just may make another....

Wednesday, April 25, 2018

Finished up my collage quilt & working on another

My Laura Heine collage quilt is finished and I'm ready for class.
I'll be teaching this collage technique in an all day class. It should be fun👍

The hardest part was quilting him. Going through multiple layers of steam a seam while FMQ wasn't easy. I had to stop quite often to wipe off my needle. But overall, I'm very happy with how he turned out.
Linking to
And

  • ...this wasnt the UFO I was supposed to finish but it IS a finish and that makes me happy!

So now that he was done, I started on another project that's been ignored for a while.. My American Jane quilt.

Border added...now to decide what I want to add next. Maybe a couple of plain little borders then a border of stars. It's about 56" right now. I would like it to be at least 72" square when I'm done.

Memorial weekend 🇺🇸

I spent some time working on two of my quilts early this morning. The sun woke me at 6am, which is not a bad thing. I love sewing before Al ...