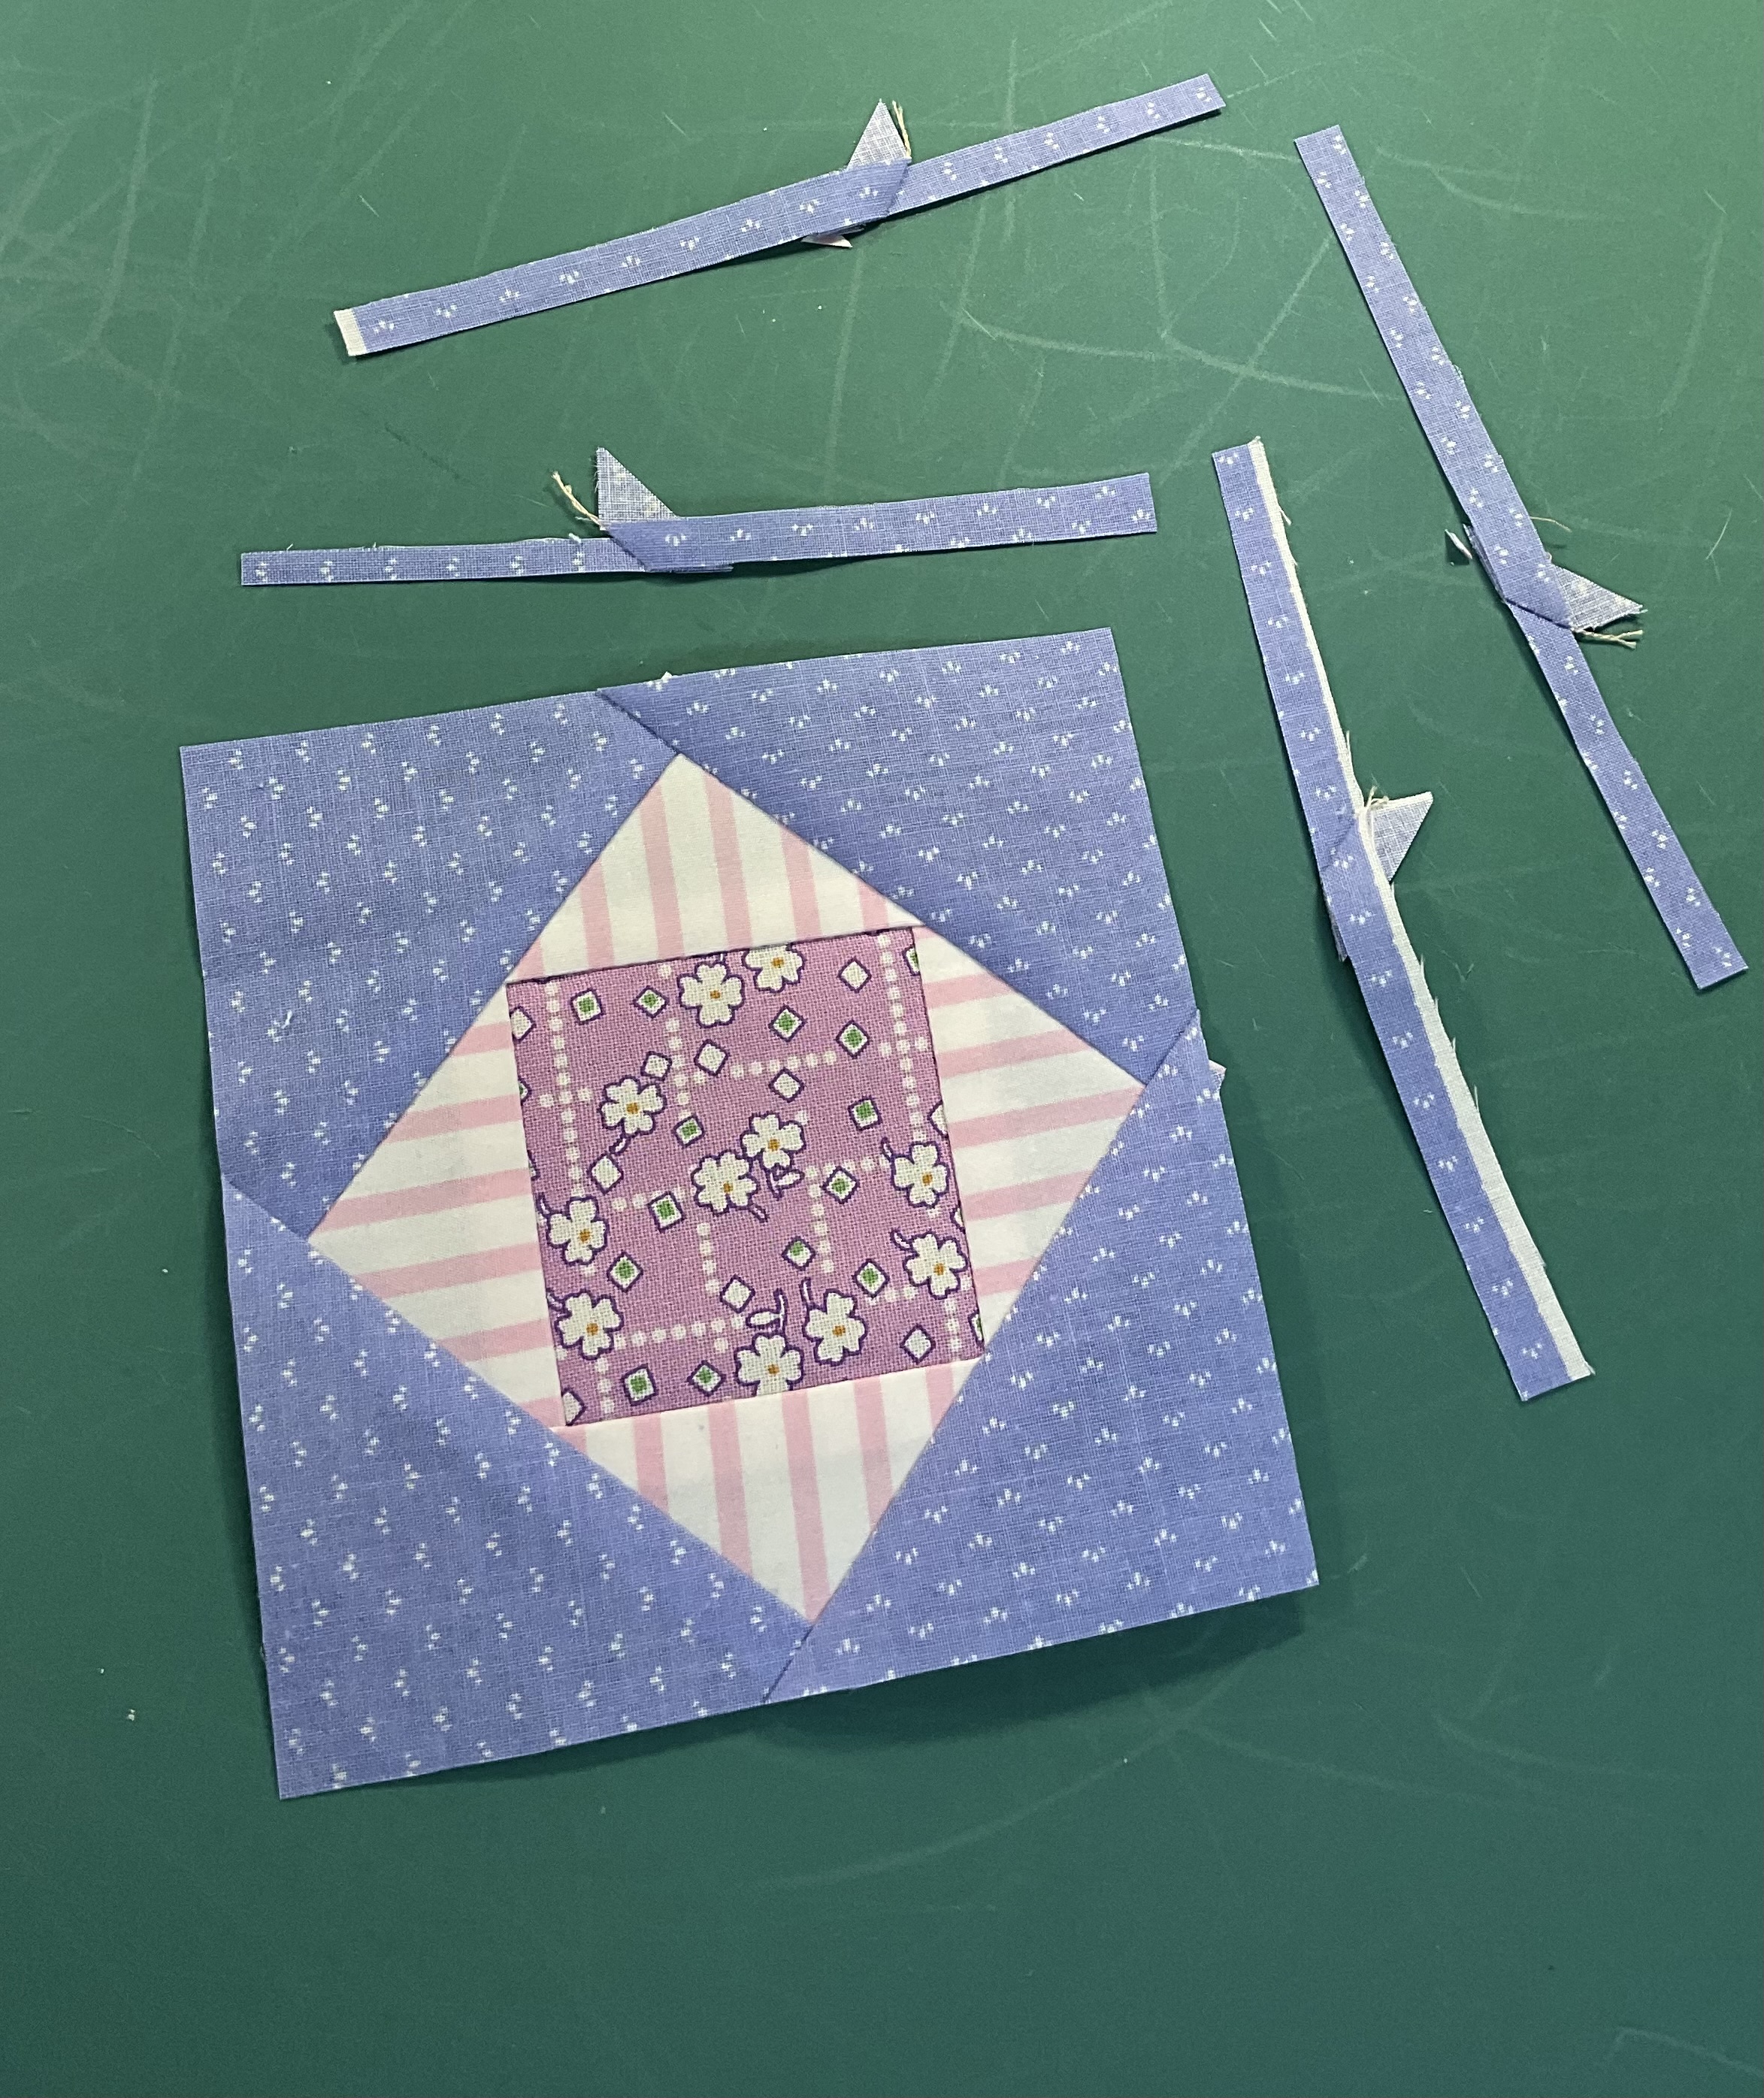
I’m working on my 4” blocks for the #scrappymeetsthriftchallenge that I’m doing on Instagram. If you would like to join us, follow Taryn of @reproquiltlover and sign up. She’ll send you all the info. You’ll get foundation paper patterns that work for 3 sizes. I chose the largest. The main reason was, I didn’t want to foundation piece and this acrylic template gave me the same size.
I thought I would put together a demo of sorts. I use the SQUARE ON SQUARE TRIM TOOL from creative grids. They have a video online … but I thought this might help too.
I use the corner window (see above) to fussy cut a 2-1/2” square for my center. I have a lot of cute 30s and vintage fabrics that I’d like to use, but you could just cut with any regular 2-1/2 ruler.
I’m making what the trim tool calls the “A” block. This is for the 4” block. The tool also makes a 8”. There’s a little area on the trim tool that tells me what size to cut squares, then these are sub cut on a 45 degree angle.
So these are the triangles for round one or the first border of your center square. They are oversized and will be trimmed after I stitch them to the center.
First triangle attached, pressed, and roughly trimmed. I trim away the excess triangle piece that’s hanging past my center square, as I go.
Attach the pieces in the order you like. I do top, bottom, side and side.
Now give it a spray and a good press so it’s nice and flat before trimming.
Using the trim tool, center the lines of A-1 over your center block like above. If it doesn’t line up perfectly, that’s okay. Center the best you can, then trim the two overhanging side.
Now flip the block, recenter it on A-1, and trim the two remaining sides.
You have a perfect “triangle border” on your center. Now pick out a second fabric. I like to use something that matches but contrasts a bit.
Here is a bunch of my blocks with round one on them so I’m matching up fabrics for the next set.
I’m trying to use only scraps because but sometimes (like that brown one) I just can’t find a scrap that works. That’s fine. I’ll dig through my larger pieces of fabric..pretty is more important than sticking to the rules 🤫
For this block I had scraps that would work just fine. The trim tool says to cut (2) 3-1/2” squares then cut in half.
I have a 3-1/2” template with a diagonal line so I’m lining up the fabric straight edge with the 45 degree line on the ruler and cutting triangles that way.
NOTE: I’ve found that you can also cut a 5” charm on the diagonal, twice, to get 4 triangles that work. Those will have bias edges though, so I give them a heavy dose of spray starch to keep them square.
SO…back to this…using half the square ruler gives me the same size triangle as if I had used the whole square and sub cut it.
The other two scraps will work because they were on a different block that I did an OOPs 😬 on. I saved these two, ruined two others. I set the pieces on my ironing pad, next to my machine so that I don’t make a mistake in how I want them arranged.
I put the matching pieces across from each other.
Sew them on, spray, and press.
Now I’m ready for the final two cuts.
This time, line up the first border of triangles with A-2. Double check that you are lining this up correctly…my earlier OOPs was from improperly lining up the template (and not having my coffee b4 cutting anything 🤣)
Trim the two sides.
Then the two remaining sides.
Your block is finished!
Now, this might just be me but I like to cut the remaining scraps from making that block, into sizes I save. I keep 1-1/2” squares in a tin for making scrappy nine patches.
I am getting quite a collection so another 9 patch scrap quilt is probably in my future.
This is the last one I did…just needs quilting 🫣